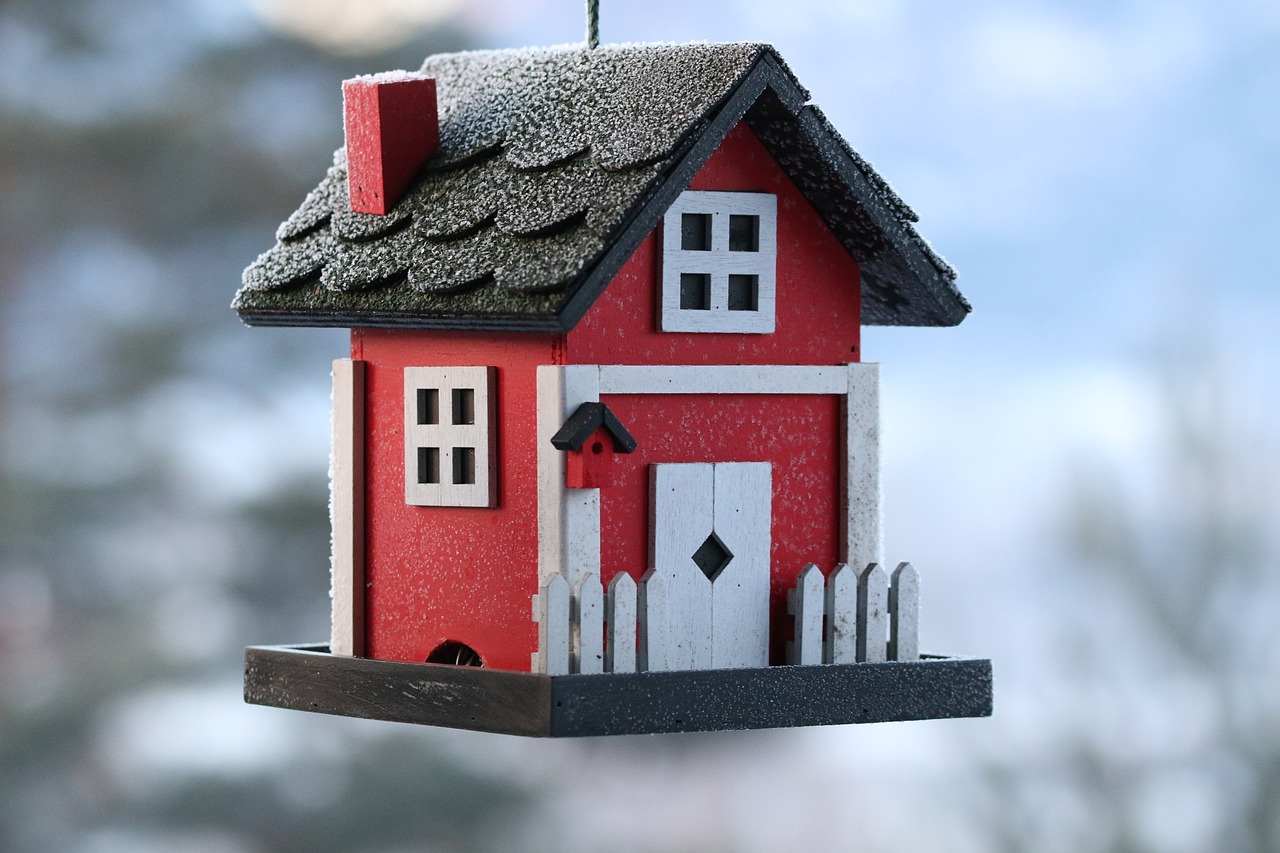
Are you curious about building bird houses? You're in the right place! Crafting a birdhouse is not only simple but also a delightful activity. Imagine the joy of watching colorful birds flutter around your garden, bringing life and vibrancy to your outdoor space. By providing a cozy shelter, you help support local wildlife and enjoy the benefits of nature right at your doorstep. Building bird houses can transform your backyard into a haven for birds, offering them a safe place to rest and nest. Let's dive into this rewarding experience together!
Gather Your Materials and Tools
Before you start building bird houses, gather all the necessary materials and tools. Having everything ready will make the process smoother and more enjoyable.
Essential Materials
Types of wood suitable for birdhouses
Choosing the right wood is crucial for a durable birdhouse. Opt for untreated wood like cedar or pine. These types of wood are weather-resistant and safe for birds. Avoid using treated wood, as it can be harmful to our feathered friends.
Nails, screws, and glue
You'll need 1 1/4-inch nails and exterior wood glue to hold your birdhouse together. These materials ensure that your birdhouse remains sturdy and can withstand the elements. Keep some exterior wood filler on hand to fill any gaps or holes.
Paint or wood sealant
To protect your birdhouse from the weather, use exterior paint or wood stain. This not only adds a splash of color but also extends the life of your birdhouse. A paintbrush will help you apply the paint or sealant evenly.
Necessary Tools
Saw and drill
A miter saw will help you cut the wood pieces to the right size. A drill/driver with a drill bit is essential for making holes for screws and the entrance hole for the birds. Consider using a hole saw or paddle bit for precision.
Hammer and screwdriver
These basic tools are indispensable for assembling your birdhouse. Use a hammer to drive in nails and a screwdriver for screws. They ensure that each part of your birdhouse fits snugly together.
Measuring tape and pencil
Accurate measurements are key to a well-built birdhouse. Use a measuring tape to mark dimensions on the wood. A pencil will help you make clear, visible marks for cutting and drilling.
With these materials and tools at your disposal, you're well on your way to creating a cozy home for the birds. Building bird houses can be a rewarding project, especially when you see your efforts come to life with the arrival of your first feathered visitors.
Preparing the Wood
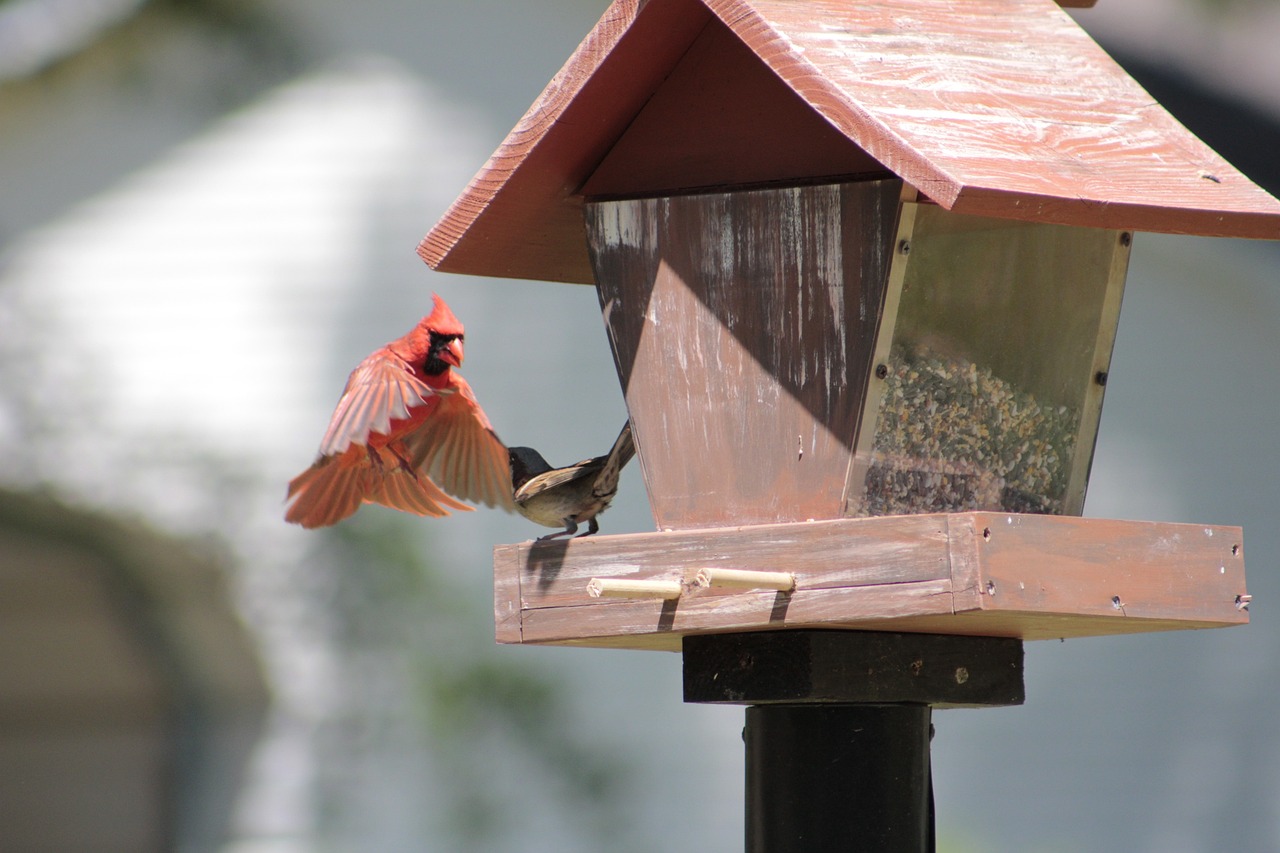
Now that you've gathered your materials and tools, it's time to prepare the wood for your birdhouse. This step involves measuring, marking, and cutting the wood pieces to create a snug and inviting home for your feathered friends.
Measuring and Marking
Dimensions for a standard birdhouse
When building bird houses, getting the dimensions right is crucial. A standard birdhouse typically measures about 6 inches wide, 8 inches deep, and 10 inches tall. These dimensions provide enough space for most small birds to nest comfortably. The entrance hole should be between 1 and 1.5 inches in diameter, which suits common backyard birds like wrens and chickadees. This size ensures that the birds can enter easily while keeping larger predators out.
Marking the wood for cutting
Grab your measuring tape and pencil. Carefully mark the dimensions on your wood pieces. You'll need to outline the front, back, sides, roof, and base of the birdhouse. Clear and accurate markings will guide you during the cutting process, ensuring each piece fits together perfectly.
Cutting the Pieces
Safety tips for using a saw
Safety first! Before you start cutting, make sure you're wearing protective eyewear and gloves. Keep your fingers away from the saw blade and work on a stable surface. Always follow the manufacturer's instructions for your saw to prevent accidents.
Cutting the front, back, sides, roof, and base
With your safety gear on, use the saw to cut along the marked lines. Start with the front and back panels, then move on to the sides, roof, and base. Each piece should match the dimensions you marked earlier. Take your time to ensure clean cuts, as this will make assembling the birdhouse much easier.
By following these steps, you're well on your way to creating a cozy and safe haven for birds. Preparing the wood with precision sets the foundation for a sturdy birdhouse that will attract and shelter your local wildlife. Enjoy the process of building bird houses and look forward to the delightful visitors they will bring to your garden.
Assembling the Birdhouse
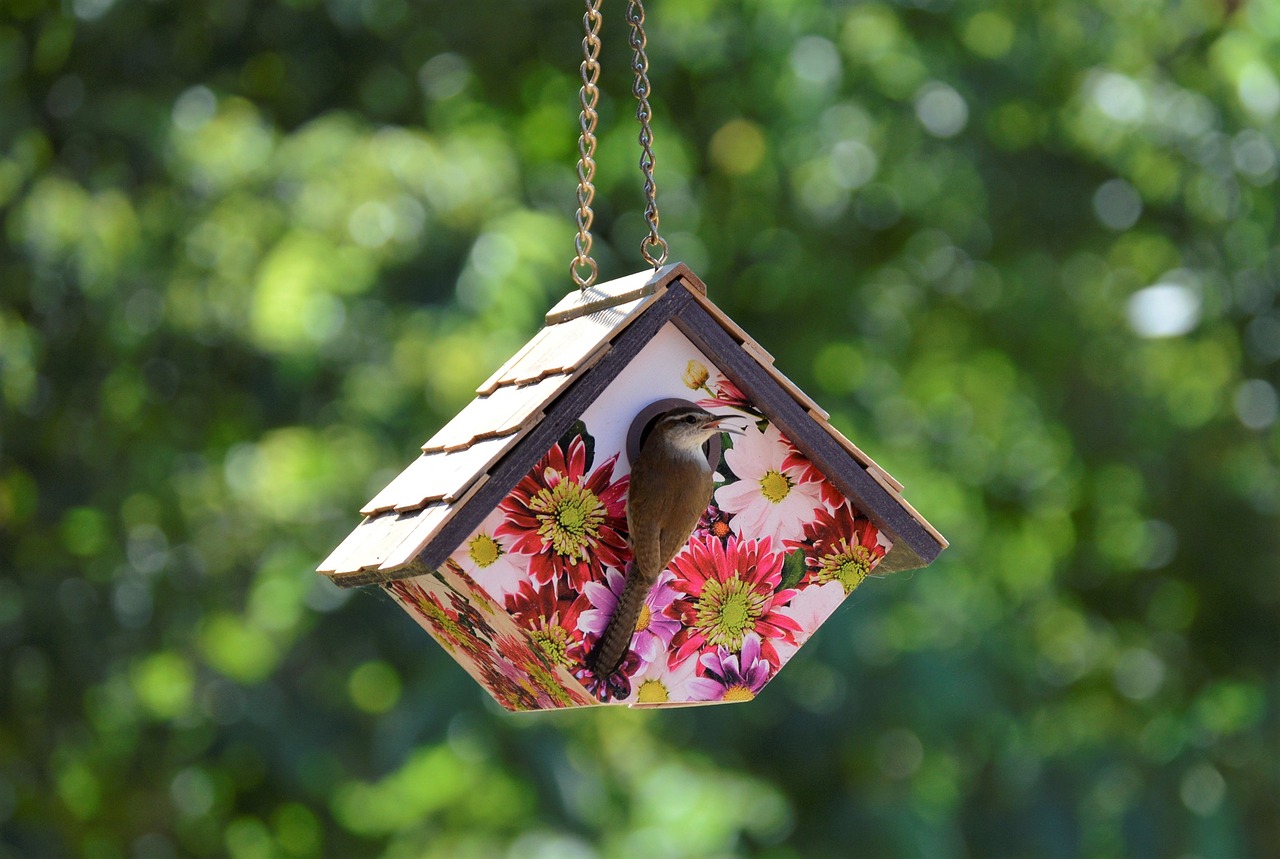
Now that you've prepared all the pieces, it's time to bring your birdhouse to life. Assembling the birdhouse is a rewarding step where you see your efforts take shape. Follow these steps to ensure a sturdy and inviting home for your feathered friends.
Building the Frame
Attaching the sides to the base
Start by attaching the sides to the base. Place the base on a flat surface, then position the side panels upright along the edges. Use your hammer and nails or a screwdriver and screws to secure the sides to the base. Make sure the panels are aligned properly. This will create a strong foundation for your birdhouse.
Securing the front and back panels
Next, attach the front and back panels. Align the front panel with the edges of the side panels. Secure it using nails or screws. Repeat this process for the back panel. Ensure all corners meet snugly. This will provide a cozy and secure space for birds to nest.
Adding the Roof
Aligning and attaching the roof pieces
With the frame complete, it's time to add the roof. Take the roof pieces and align them over the top of the birdhouse. The roof should overhang slightly to protect the entrance from rain. Use nails or screws to attach the roof securely. This step completes the basic structure of your birdhouse.
Ensuring the roof is weatherproof
To ensure your birdhouse withstands the elements, make the roof weatherproof. Apply a layer of exterior wood sealant or paint. This not only protects the wood but also adds a touch of color. A well-sealed roof keeps the interior dry and comfortable for the birds.
Expert Testimony: *Providing adequate shelter helps attract birds to backyards.* By following these guidelines, you create a welcoming environment for local wildlife.
Congratulations! You've successfully assembled your birdhouse. Building bird houses is a fulfilling project that brings nature closer to home. Enjoy watching as birds discover their new haven.
Finishing Touches
You've assembled your birdhouse, and now it's time to add those final touches that make it truly special. These steps not only enhance the appearance but also ensure the birdhouse is safe and inviting for its new residents.
Sanding and Painting
Smoothing rough edges
Start by smoothing out any rough edges on your birdhouse. Use sandpaper to gently sand down the surfaces. This step is crucial because it prevents splinters and makes the birdhouse safer for birds. Plus, a smooth finish gives your birdhouse a polished look.
Applying paint or sealant
Once you've sanded the birdhouse, it's time to add some color or protection. Choose an exterior paint or wood sealant to coat the birdhouse. This not only adds a vibrant touch but also protects the wood from the elements. Make sure to apply the paint or sealant evenly and allow it to dry completely before moving on. A well-finished birdhouse can withstand weather changes and last longer.
Adding a Perch and Entrance Hole
Drilling the entrance hole
The entrance hole is a vital part of your birdhouse. Use a drill to create a hole that matches the size of the birds you want to attract. Typically, a hole between 1 and 1.5 inches in diameter works well for small birds like wrens and chickadees. This size keeps larger predators out while allowing easy access for your feathered friends.
Installing a perch below the entrance
Consider adding a perch just below the entrance hole. This small addition gives birds a place to land before entering. Use a small dowel or a sturdy twig as a perch. Secure it firmly to ensure it can support the birds. A perch not only enhances the birdhouse's functionality but also adds a charming detail.
Pro Tip: *Building bird houses with attention to detail makes them more attractive to birds.* By taking the time to finish your birdhouse properly, you create a welcoming environment that birds will love.
With these finishing touches, your birdhouse is ready to welcome its new inhabitants. Building bird houses is a delightful project that brings joy to both you and the birds. Enjoy watching as they explore and settle into their new home.
Choosing the Right Location
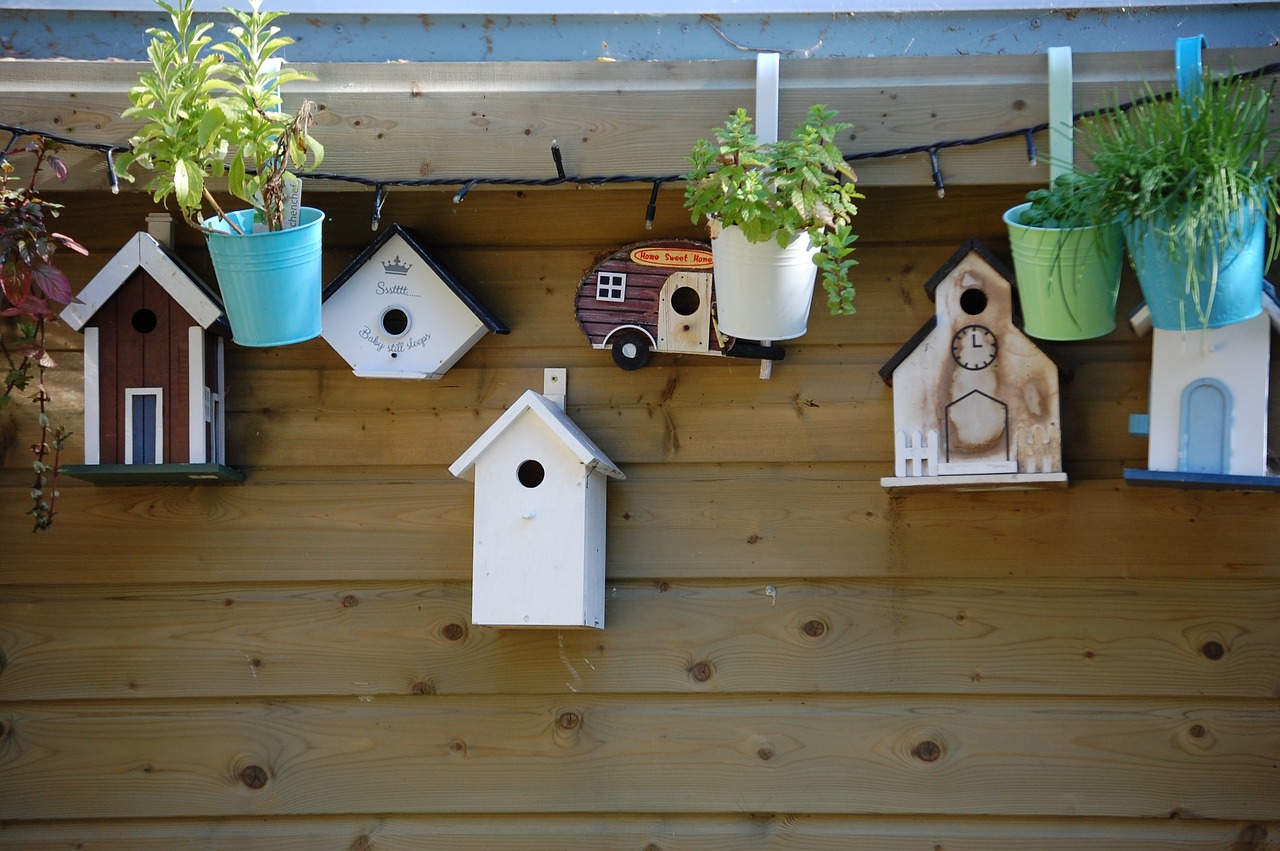
Selecting the perfect spot for your birdhouse is crucial. It ensures that birds feel safe and comfortable in their new home. Let's explore how to choose the best location for building bird houses.
Ideal Placement
Height and direction considerations
When placing your birdhouse, consider its height and direction. Position it at least 5 to 10 feet above the ground. This height keeps it out of reach from most predators. Face the entrance hole away from prevailing winds. This helps protect the birds from harsh weather. A south or east-facing direction often works best, providing warmth from the morning sun.
Avoiding predators and harsh weather
Safety is a top priority when building bird houses. Place the birdhouse away from areas where predators like cats or raccoons can easily reach it. Avoid locations near dense foliage or low branches. These spots can provide easy access for predators. Also, ensure the birdhouse is sheltered from extreme weather conditions. A location with some natural cover, like a tree canopy, can offer protection from rain and strong winds.
Securing the Birdhouse
Mounting on a pole or tree
Mounting your birdhouse securely is essential. You can attach it to a pole or a tree. If using a pole, make sure it's sturdy and tall enough to deter predators. A metal pole with a baffle can prevent climbing animals from reaching the birdhouse. When attaching to a tree, use straps or hooks that won't damage the bark. This method allows you to move the birdhouse if needed.
Ensuring stability and safety
Stability is key to a successful birdhouse. Ensure it's firmly attached and doesn't sway in the wind. Check the mounting regularly to make sure it's secure. A stable birdhouse provides a safe environment for nesting birds. By taking these precautions, you create a welcoming space that supports local wildlife and promotes biodiversity.
Building bird houses and placing them thoughtfully can significantly impact bird populations. By providing safe nesting sites, you help preserve and improve bird communities. Enjoy the satisfaction of watching your feathered friends thrive in their new home.
Maintenance Tips
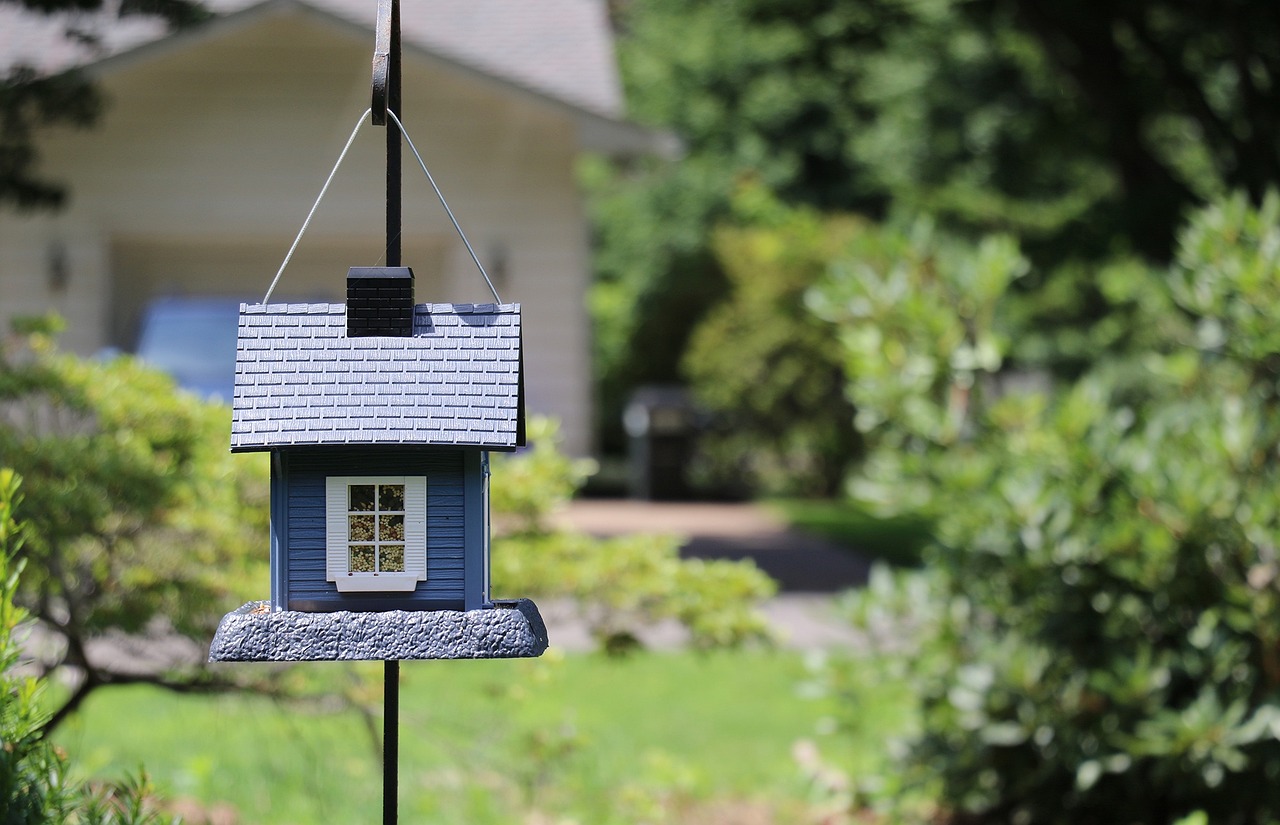
Maintaining your birdhouse ensures it remains a safe and inviting home for birds. Regular upkeep not only prolongs the life of the birdhouse but also supports the health and safety of its inhabitants. Let's dive into some essential maintenance tips.
Regular Cleaning
Keeping your birdhouse clean is crucial for the well-being of its residents. Birds can be susceptible to parasites and diseases, so a clean environment helps keep them healthy.
How often to clean the birdhouse
You should clean your birdhouse at least once a year, ideally after the nesting season ends. This timing allows you to remove any old nesting materials and debris before new occupants arrive. If you notice any signs of pests or disease, consider cleaning more frequently.
Safe cleaning methods
When cleaning, use mild soap and water. Avoid harsh chemicals, as they can harm birds. Remove the old nesting material and scrub the interior gently. Rinse thoroughly and let it dry completely before reassembling. This method ensures a safe and welcoming space for future bird families.
Seasonal Adjustments
Birdhouses need adjustments to withstand different weather conditions. These changes help protect the structure and its inhabitants throughout the year.
Preparing for different weather conditions
In colder months, consider adding insulation to keep the birdhouse warm. You can use straw or wood shavings for this purpose. During rainy seasons, ensure the roof is sealed properly to prevent leaks. Regularly check for any signs of water damage and address them promptly.
Checking for wear and tear
Inspect your birdhouse regularly for signs of wear and tear. Look for loose nails, cracks, or any damage that might compromise its stability. Repair any issues immediately to maintain a safe environment. A well-maintained birdhouse not only attracts more birds but also supports their nesting needs effectively.
Pro Tip: Building bird houses with maintenance in mind ensures they remain functional and attractive to birds. By following these tips, you create a lasting haven for your feathered friends.
Regular maintenance of your birdhouse is a rewarding part of building bird houses. It allows you to enjoy the beauty of nature while supporting local wildlife. Keep your birdhouse in top shape, and watch as it becomes a bustling hub of activity in your garden.
Building a birdhouse is a simple and satisfying project. You get to enjoy the delightful sight of birds visiting your creation. Imagine the joy of seeing colorful birds fluttering around, bringing life to your garden. It's not just about crafting; it's about creating a welcoming home for your feathered friends. Why not share your birdhouse-building experiences? We'd love to hear your stories and see your creations. Whether you used scrap wood or followed a detailed plan, every birdhouse has its own charm.
And while you’re at it, consider enhancing your birdwatching experience with a smart bird feeder! It's a great way to attract even more feathered visitors to your yard. So, grab your tools, start building, and don’t forget to check out our smart bird feeders to take your birdwatching to the next level!


